CAR CAMPING · PLANNING GUIDE
How to plan a DIY sleeping platform for your car or SUV
A useful camping platform starts with the space inside your vehicle and the way you pack. Work out the sleeping surface, storage access and removable sections before you buy plywood.
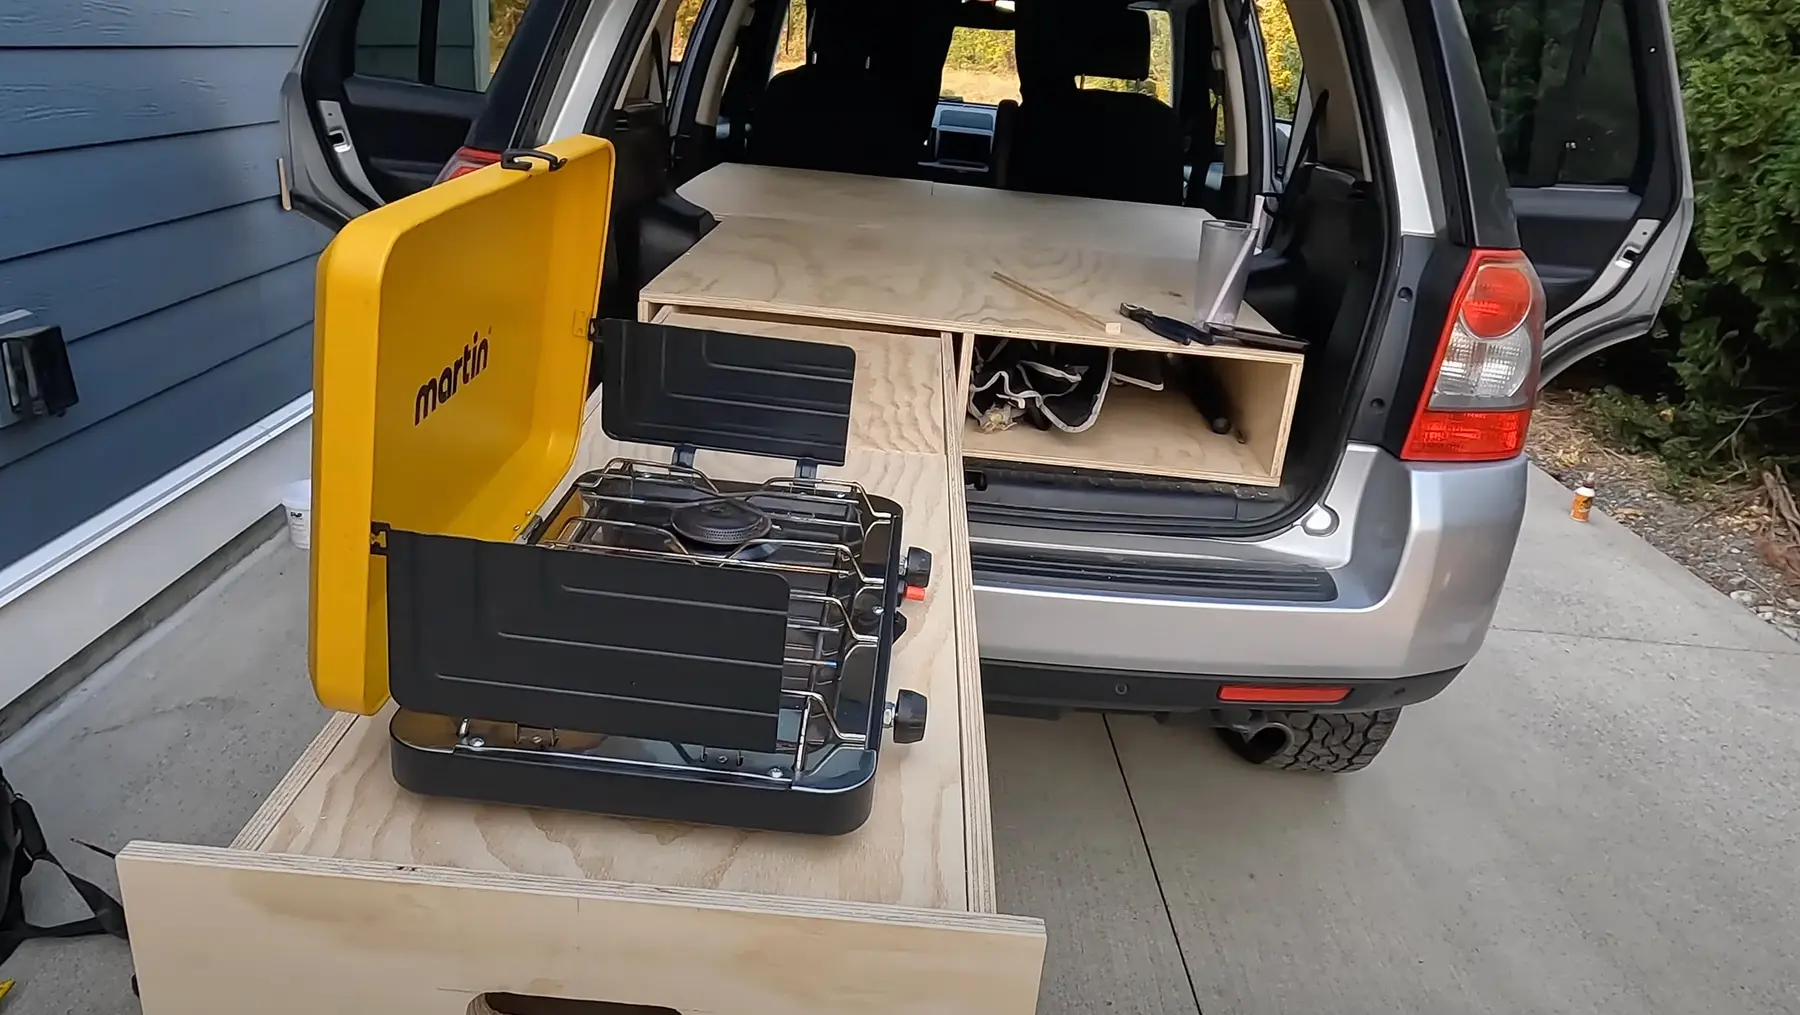
A platform layout must be checked against the actual vehicle interior.
Start with how you use the vehicle
Decide whether the bed needs to come out between trips, whether you want one or two sleeping positions, and which gear you need to reach from the hatch. A modular layout lets you separate the trunk storage box from the panels that extend over the folded rear seats. In Campit's current concept, those front panels have individual legs and attach at the trunk module.
Check how you will return the seats to their normal driving position. A bed configuration that fits at camp may need to be partly removed for daily use.
Measure the storage box and sleeping area separately
The space between the wheel wells can be narrower than the space above them. Measure the clearance throughout the height occupied by the trunk box, then check the width available at the planned sleeping surface. Also check that the assembled box can pass through the hatch.
Campit records the narrow cargo width and the wider front sleeping width separately. The trunk stays narrow enough for the cargo area while the two removable panels angle outward toward the doors. Cardboard templates still establish the real wall and pillar contours.
The measurements in the builder
- Cargo / trunk width: check the narrowest width occupied by the trunk module.
- Front sleeping width: measure door-to-door at panel height with the front seats in their sleeping position. This sets the maximum flare before cardboard contouring.
- Sleeping length: measure from inside the closed hatch to the front seats in their sleeping position. Check both sides.
- Rear cargo length: measure from the hatch to the transition into the folded-seat area. This locates the trunk module.
- Platform height: measure from the cargo floor to the top of the plywood, before adding a mattress.
- Folded-seat rise: measure how much higher the leg contact points are than the cargo floor. Uneven surfaces may require individual adjustment.
The 3D platform builder includes a “Show where to measure” diagram beside each input. Make cardboard templates to check contours that a single width or length cannot describe.
Balance storage height with space above the mattress
A taller platform gives you more room beneath the bed, but reduces the space above it. Include mattress thickness when checking whether you can sit up, turn over and reach an exit comfortably. Use temporary blocks and a straight board to explore the height before committing to the design.
Choose one drawer or two
A single slide-out drawer keeps frequently used items together while leaving the neighbouring bay open for bulkier gear. Two drawers give you two defined storage areas, but also require a second drawer box and another pair of slides. Compare both layouts using the actual dimensions of your cooking equipment, bins and other gear.
Choose slides before finalizing drawer-box widths. Required side clearance, installed length and mounting instructions depend on the hardware. A generic preview is not a substitute for those specifications.
Plan removable panels and positive connections
The front panels need support under their rear edges as well as legs at the front. They also need positive connections that stop the panels sliding or lifting away. Campit's proposed connection uses two reinforced, matched bed-rail-style hook-and-slot connector pairs per panel. The panel aligns, slides down to seat and lifts up for removal. Exact hardware and attachment details still require validation.
Keeping the driver-side and passenger-side panels independent makes it possible to remove one or both while retaining the trunk storage module. Check that the removed panels and legs can be stored and restrained during travel.
Make the build repeatable before adding extras
Start with the core box, drawers and removable panels. Dry-fit each module, verify level support, and confirm clearance around seats, trim and the hatch before finishing. Side wings above the wheel wells and folding head-end extensions should be treated as separate design steps with their own support and connection details.
Use the build safety checklist to review vehicle systems, restraints, access and stationary use. No vehicle selector or 3D model establishes a load rating for a physical build.